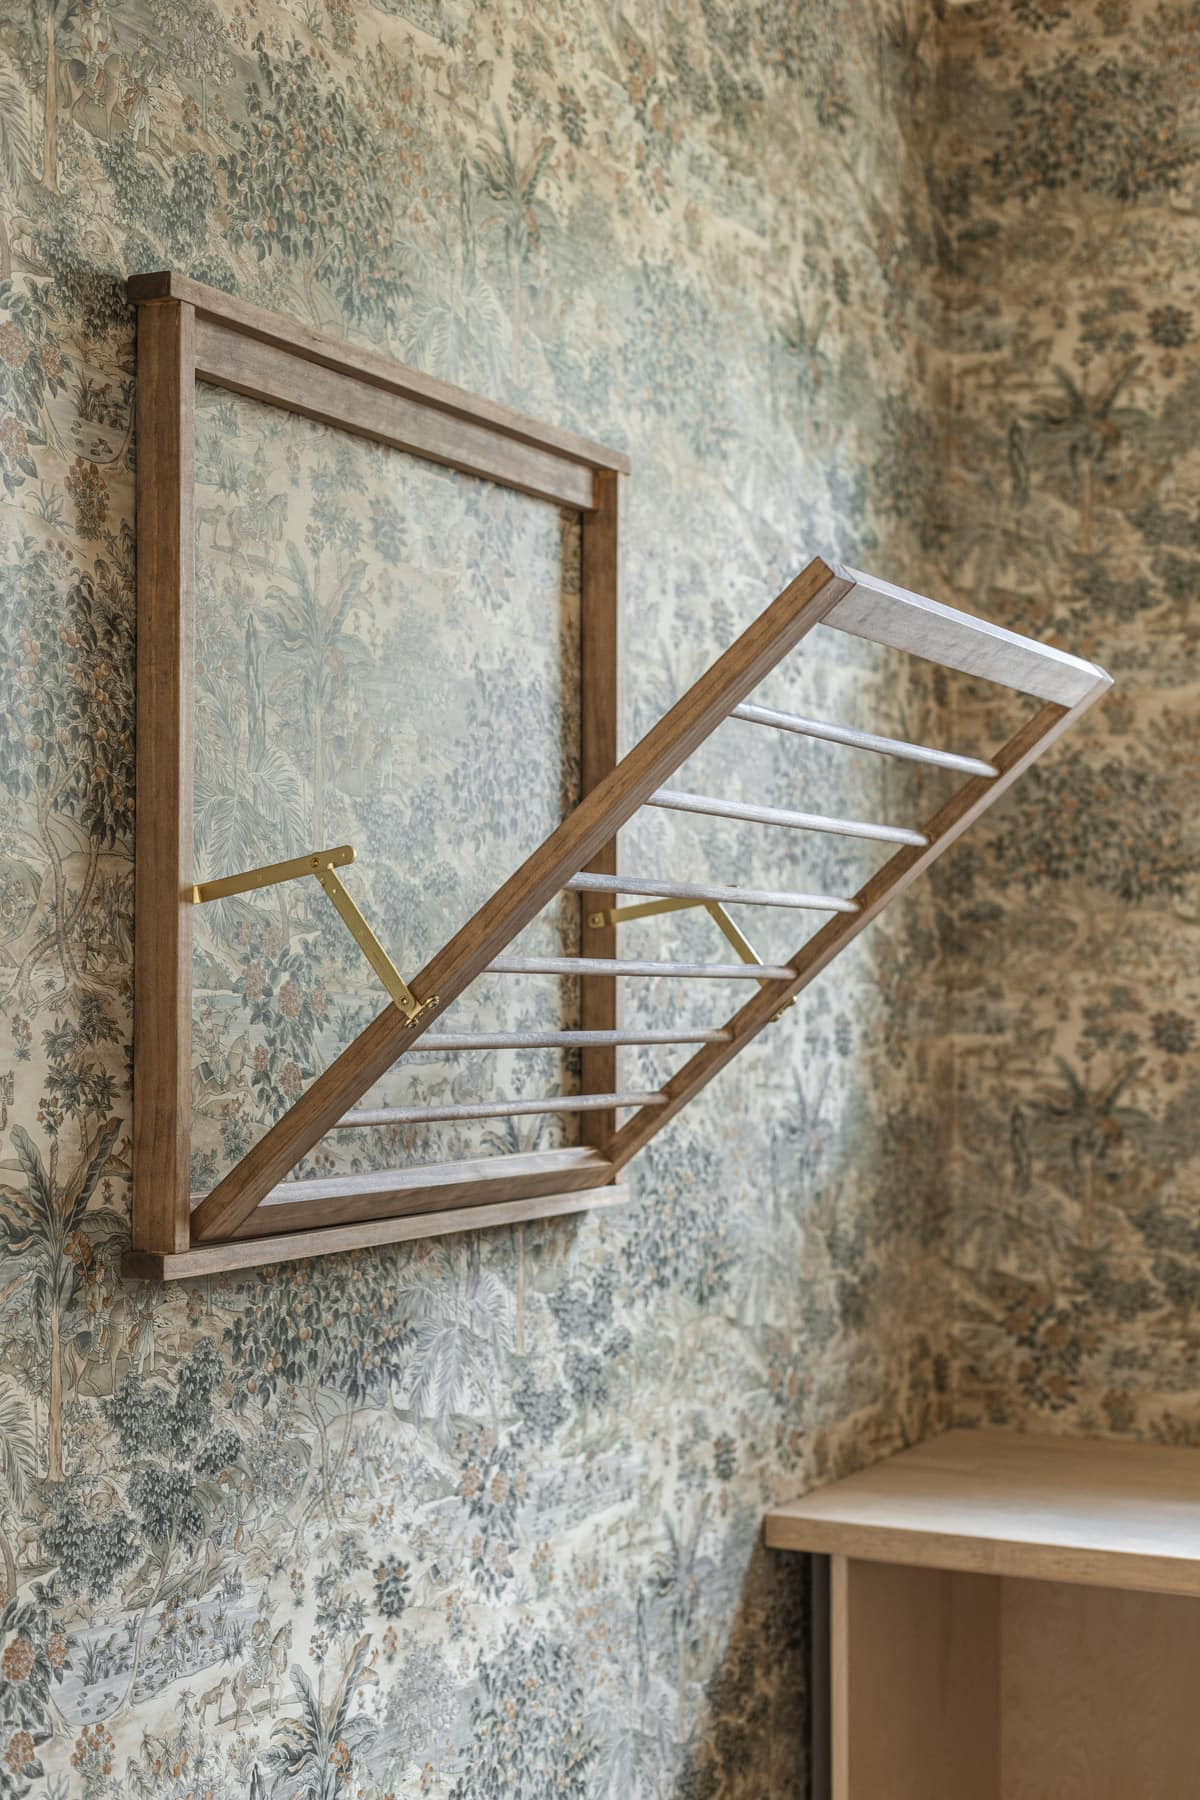
My DIY Wall Mounted Clothes Drying Rack: How To Install in a Small Space!
If you’ve ever draped wet laundry over radiators, door frames, or the back of a chair (and let’s be honest, who hasn’t?), a proper drying rack is a game changer. 🧺
Wall-mounted racks are especially clever for smaller spaces. They fold flat when you’re not using them, keep everything off the floor, and give clothes room to actually dry properly instead of sitting in a damp heap. The only problem? Shop-bought ones are often flimsy, ugly, or way more expensive than they should be.
Building your own solves all of that. You can make it exactly the right size for your space, choose a finish that doesn’t look like a plastic eyesore, and spend a fraction of what you’d pay for a decent ready-made version. The best part is you don’t need to be particularly handy – basic tools and a couple of hours is all it takes. 🪚
Here’s how to make one.
What You’ll Need
Gather these supplies before starting your project:
- Four 1x2x12 foot boards
- Three 0.5 inch by 48 inch wooden dowels
- One set of hinges
- Wood glue
- 1 ¼ inch screws
You can find all these items at your local hardware store.
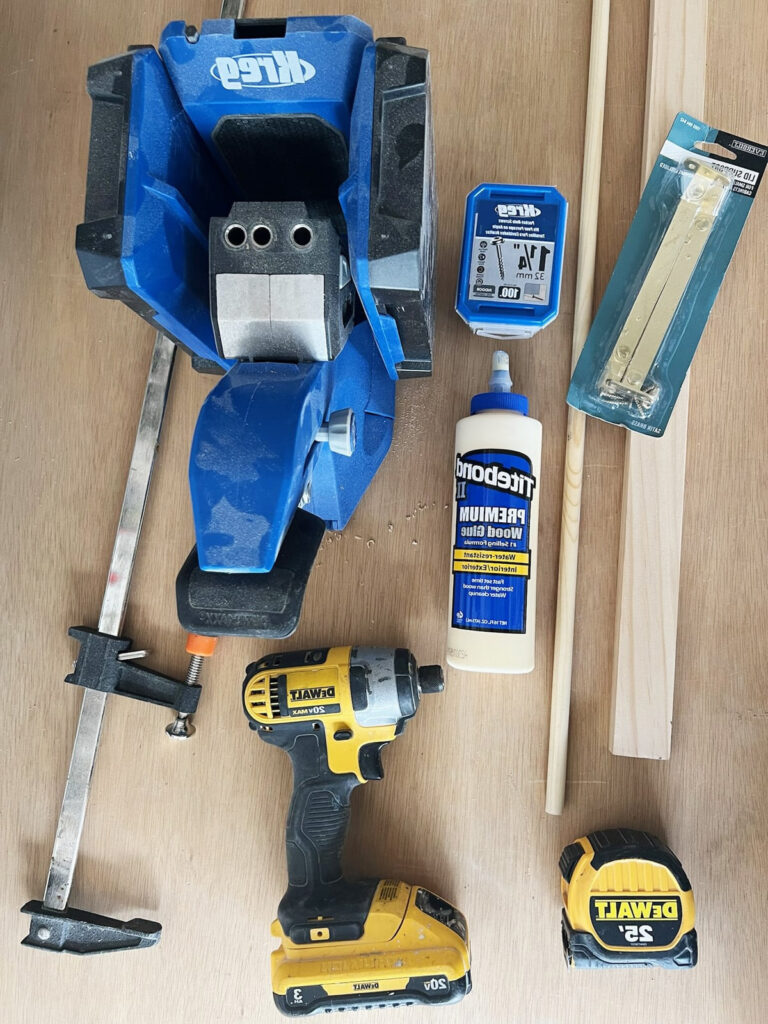
Tools
You will need a tape measure to get accurate measurements for your drying rack. A drill with a 1/2-inch spade or forstner bit is required for making holes.
Use a finish nailer to attach pieces together cleanly. A speed square helps you mark straight lines and check right angles.
A miter saw cuts wood at precise angles. Bar clamps or corner clamps hold pieces in place while you work. A Kreg jig is optional but useful for joining wood.

Prepare Your Wood Pieces
Start by creating a list of all the pieces you need to cut. You’ll use 1×2 pine boards and 1/2-inch wood dowels for this project. Pine keeps costs low, but you can choose oak if you want to stain instead of paint.
Cut two pieces of 1×2 at 30 inches for the outer frame’s top and bottom. Next, cut four pieces at 27.5 inches for the outer frame sides and supports. For the inner frame, you need two pieces at 23.25 inches for the top and bottom sections. Cut two more pieces at 27 inches for the inner frame sides.
You’ll also need six dowels cut to 23.5 inches each. These will hold your clothes.
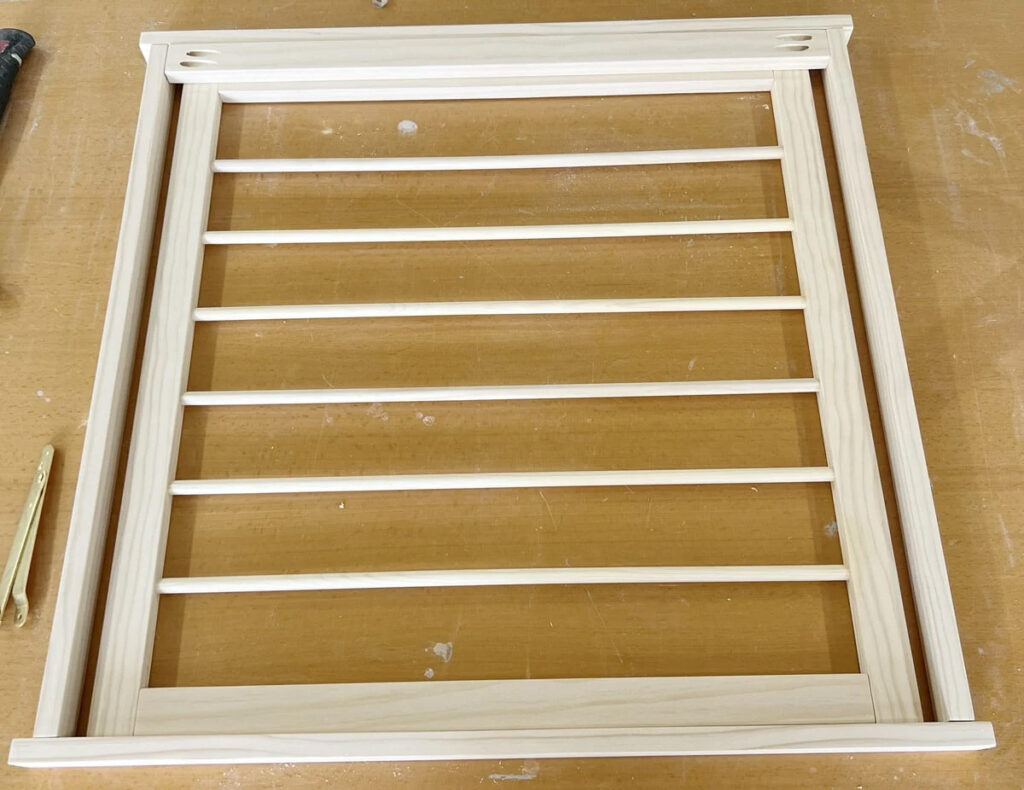
After cutting everything, lay out all the pieces together. This lets you check that everything fits correctly before you start building. Make sure each piece matches the right measurement.
Double-check your cuts now to avoid problems later.
Step 2: Put Together the Moving Frame
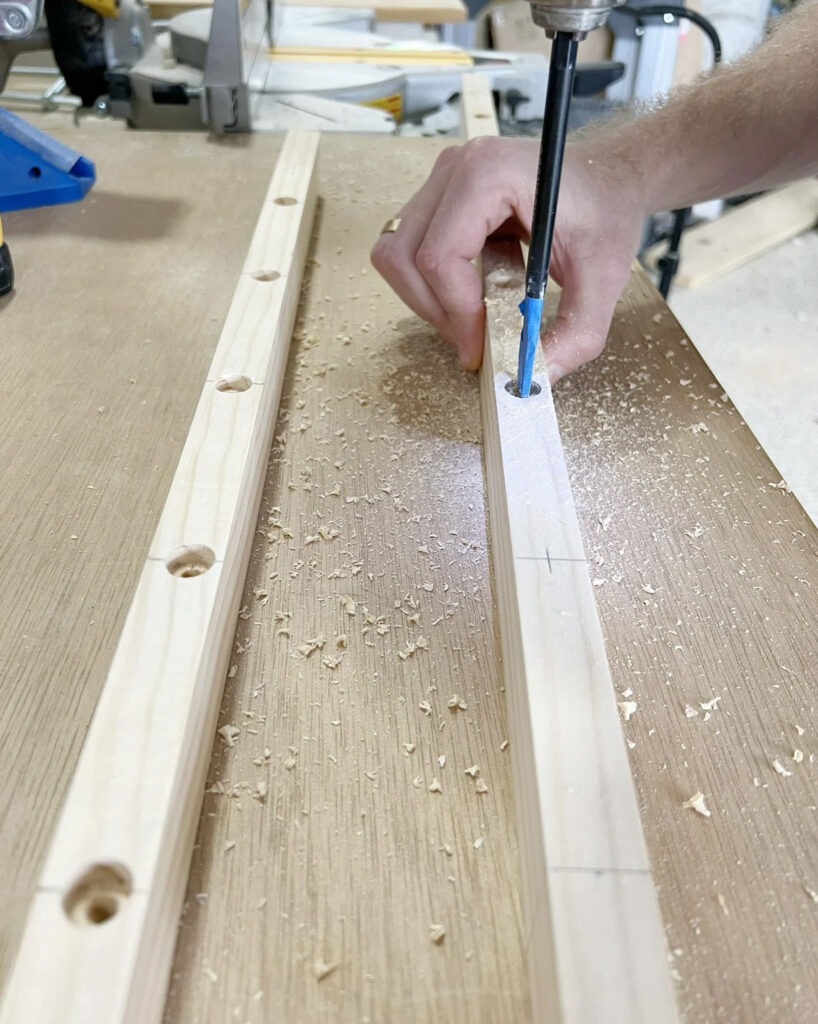
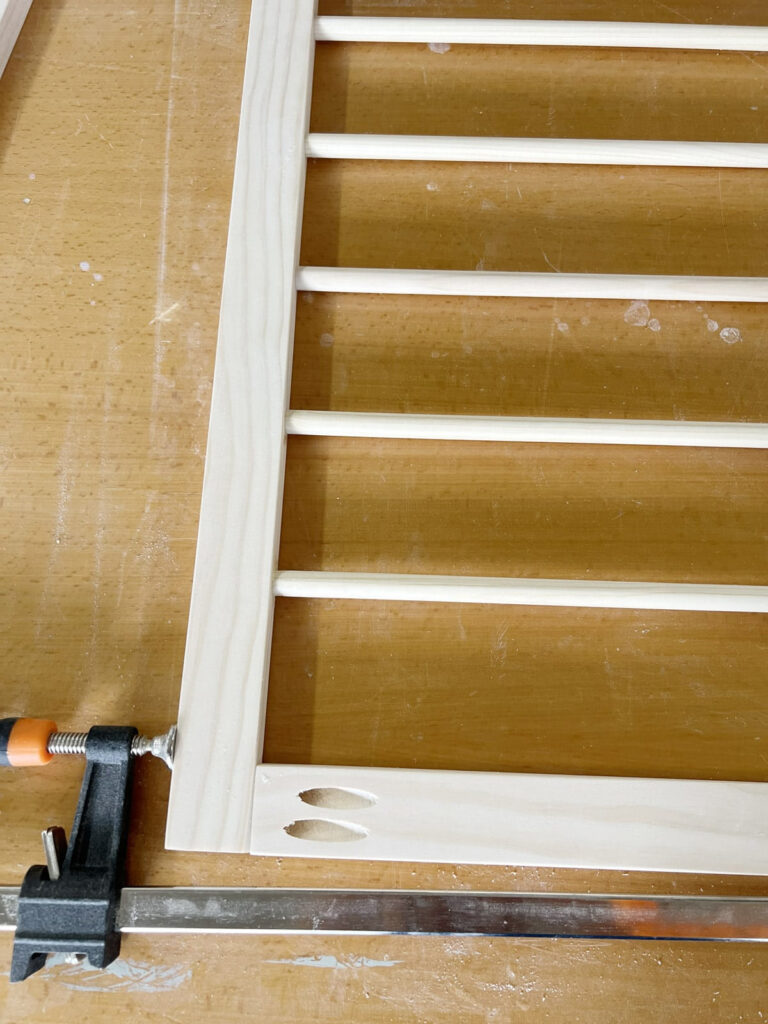
Start by taking the two 27-inch vertical boards. Measure 1.5 inches from one edge and make six marks down the length. Space these marks about 3.5 inches apart from each other.
Use a half-inch spade bit or forstner bit to drill holes at each mark you made. Make sure each hole is a quarter-inch deep. These holes will hold your dowel rods in place.
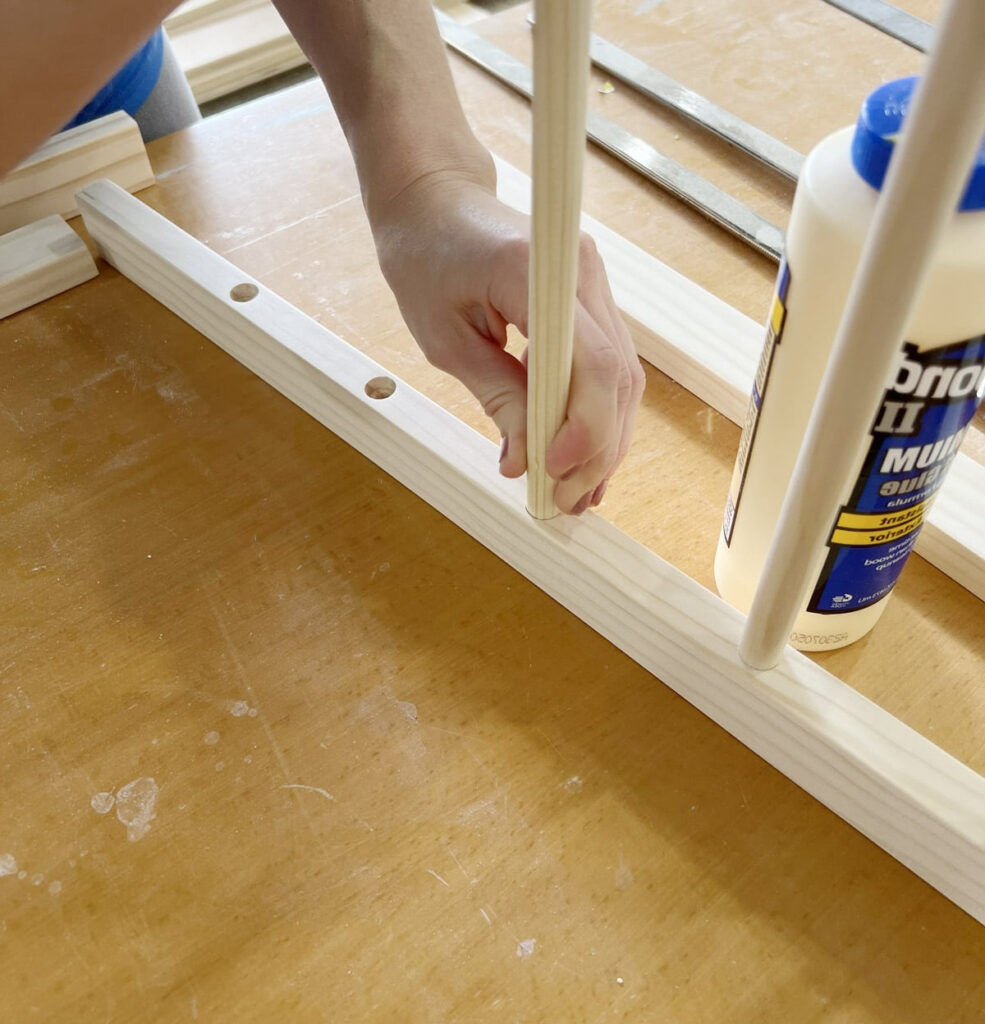
Put wood glue on both ends of each dowel. Tap them gently into the holes with a hammer until they fit snugly.
Next, drill two pocket holes on each end of your top and bottom horizontal boards. If you don’t own a pocket hole jig, regular finish nails or screws work fine instead.
Apply wood glue where the pieces connect.
Use clamps to hold everything in position while you drive screws through the pocket holes. This creates a solid rectangular frame with dowels running across it.
Step 3: Build the Outer Frame
Start by drilling pocket holes at the ends of your two 27.5-inch frame support boards. You’ll need one support along the top and another along the bottom to make sure the rack works correctly.
Use clamps to hold the outer frame pieces in position. Place the frame supports between them to keep the spacing accurate. Before securing anything, check that each corner forms a 90-degree angle.
Apply wood glue to the joints, then attach the pieces using finish nails. For the top and bottom supports, combine wood glue with pocket hole screws. Put a spacer board underneath while working to keep everything lined up properly.
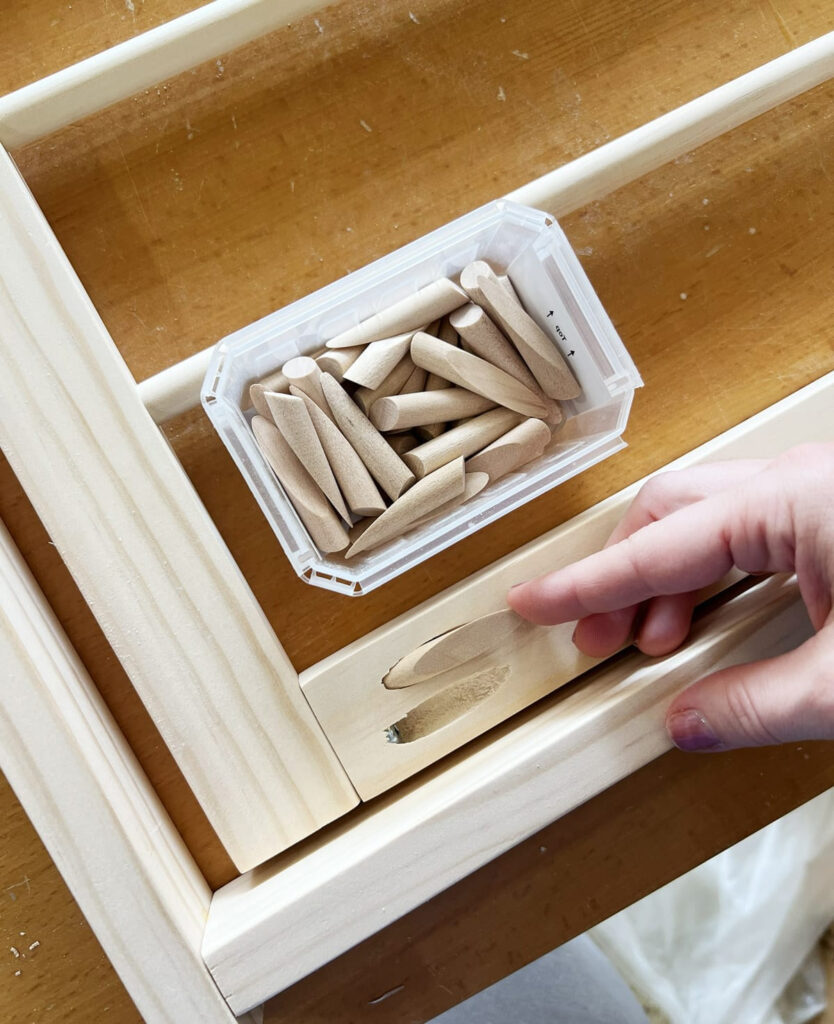
After assembly, insert wood plugs into the visible pocket holes. This gives the frame a polished appearance. Apply wood filler to any nail holes and let everything dry before moving forward.
Step 4: Apply Finish and Install
Start by smoothing any rough spots with sandpaper. Focus on areas where wood glue dried, edges feel sharp, or you filled nail holes. This creates a clean surface for your finish.
Pick your preferred finish. You can mix stains to create a custom color that matches your space. Apply your chosen stain or paint evenly across all pieces. Let it dry completely.
Always seal your rack after staining. This prevents color transfer onto your clothes when they hang. Use a clear sealer made for wood surfaces.
Mounting to the Wall:
- Find wall studs where you want to install the rack
- Mark your mounting points with a pencil
- Attach picture hangers or mounting brackets
- Drive screws into the studs for secure support
- Hang the rack frame onto the mounted hardware
Adding the Hinges:
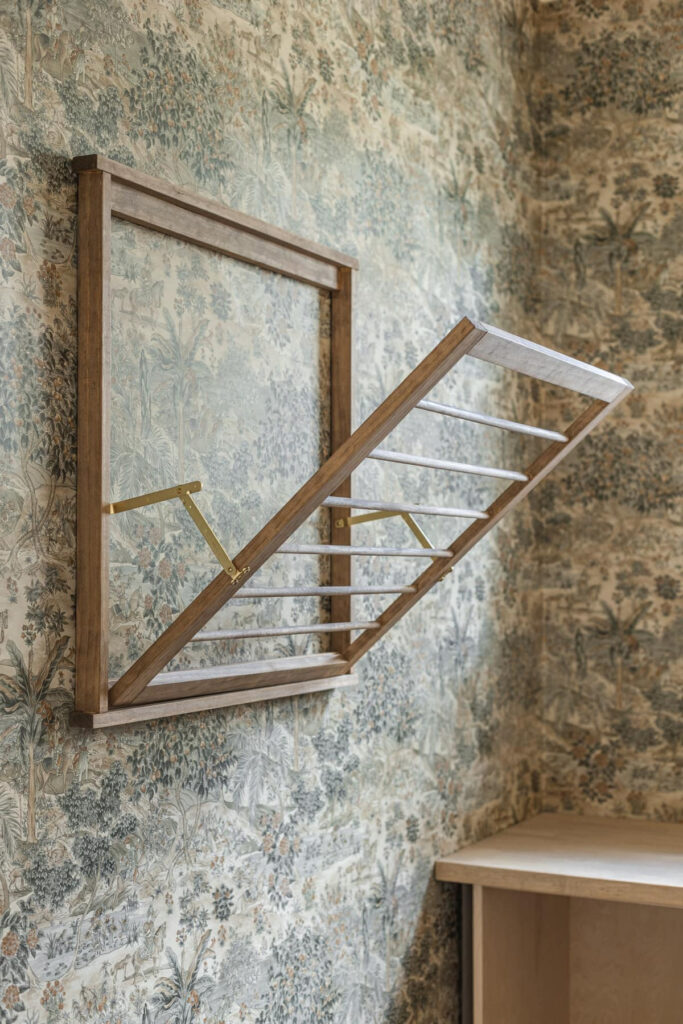
Choose hinges that fit your design. Adjustable brass hinges work well and let you set the exact height you need. Mount them according to your measurements.
Your new drying rack provides a specific place for air-drying clothes. It also adds a functional feature to your laundry space for a budget-friendly cost.
Other Quick Projects Worth Trying:
- Rustic Wood Console Table
- Fluted Cement Planters
- Reeded Glass Door
- DIY Frame TV